Are you looking for the instructions on How to Boot Telenor T200M into Recovery Mode and Bootloader Mode or Fastboot Mode? Then your search ends here; on this page, we have shared instructions on how to boot Telenor T200M into Recovery Mode and Bootloader Mode or Fastboot Mode.
Telenor T200M Recovery Mode allows a user to troubleshoot and fix problems with their device. In addition, recovery mode can access some core functions of the device, such as factory resetting the device, wiping cache, Installing updates, backup and restoring data, flash root packages and other zip mods, etc.
Telenor T200M Fastboot Mode or Bootloader Mode is used to re-flash system partitions on the device. It is an alternative to the recovery mode but is more advanced. It helps to modify or write data directly to your device's flash memory.
Telenor T200M Bootloader Mode or Fastboot Mode can be used to unlock the bootloader, flash a custom recovery (CWM, TWRP, Philz, etc.), flash stock ROM, flash custom image files, and more.
Also: Telenor Infinity E5 Pro Recovery Mode
Boot Telenor T200M into Recovery Mode
Below are the methods using which you can boot Telenor T200M into Recovery Mode.
Boot Telenor T200M Recovery Mode using Hardware Buttons
- Power off your phone.
- Once the device is off. Press and hold the Volume Up and Power button together for a few seconds.
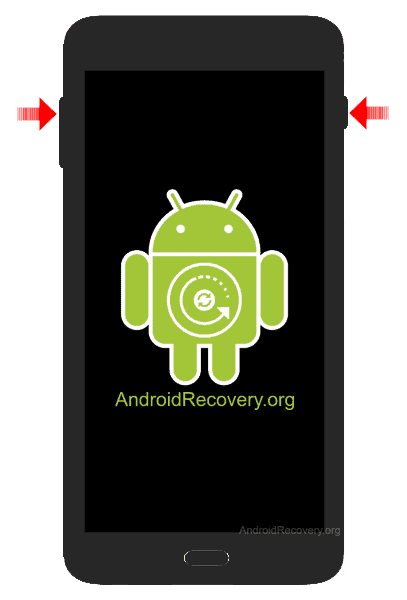
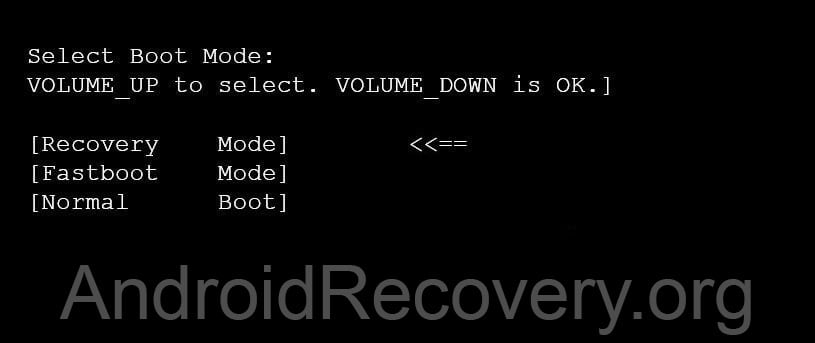
- Release all the buttons once you see the Android Boot Mode.
- Use the Volume Up button to select Recovery Mode from the list of Boot Options and press Volume Down to confirm.
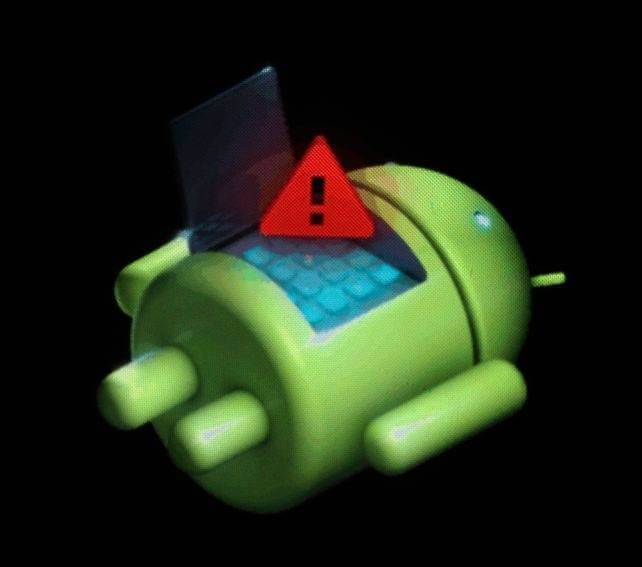
- If the Android Bot with Red exclamation pops up, then press Power button together at once.
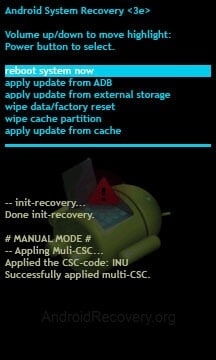
- Now, your phone should boot into Recovery Mode.
Boot Telenor T200M into Recovery using ADB command
- First of all, install the Telenor T200M USB Driver and ADB and Fastboot Drivers on your Windows computer.
- Now, enable "USB Debugging" on your phone from Developer Options. If Developer Options is missing, go to Settings → About Phone and tap on Build Number about 7-10 times.
- Connect your device to computer and open Command Prompt (CMD).
- Now, enter the below command in CMD to boot Telenor T200M into Recovery Mode.
adb reboot recovery
Boot Telenor T200M into Fastboot Mode / Bootloader Mode
Below are the methods using which you can boot Telenor T200M into Bootloader Mode or Fastboot Mode.
Boot Telenor T200M Bootloader Mode/Fastboot Mode using Hardware Buttons
- Power off your Phone.
- Press and hold Volume Up and Power button together for a few seconds.

- Release all the buttons once you see the Android Boot Mode.
- Use the Volume Up button to select Fastboot Mode from the list of Boot Options and press Volume Down to confirm.
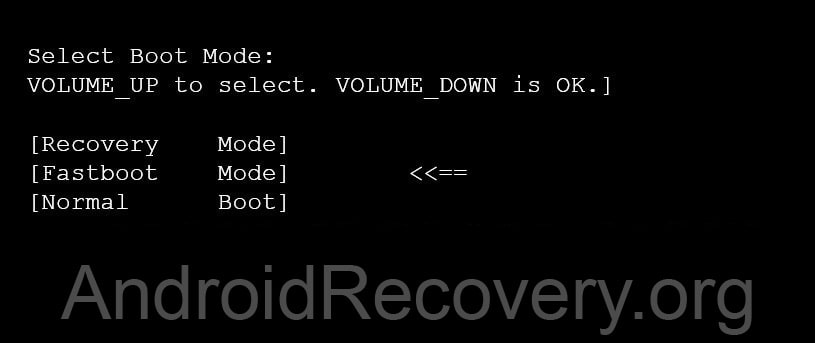
- Now, your phone should boot into Fastboot Mode.

Boot Telenor T200M Bootloader Mode/Fastboot Mode using ADB command
- Assuming ADB and Fastboot Drivers and USB Drivers installed on your computer.
- Enable "USB Debugging" on your phone from Developer Options. If Developer Options is missing, go to Settings → About Phone and tap on Build Number about 7-10 times.
- Connect your device to the computer using a USB cable and open Command Prompt (CMD).
- Enter the below command in the Command Prompt window.
adb reboot bootloader
LEAVE A REPLY